A few weeks ago I first flew my new Tiger Moth 400 with the brushless mod. After getting it trimmed well, it flies pretty well with a few caveats:
- There is still quite a bit of prop torque
- With ailerons on only the lower wing, this plane does not axial roll very fast, and loses a lot of altitude when it does.
To fix the prop torque, I’ve adjusted the motor to point down and to the right – this helped, but did not eliminate the problem. I think I need a lighter-weight prop on it. I’m currently using a 10 x 8 that is very stiff and pretty bulky. I will try a lighter prop – probably one similar to what is used on the Super Cub.
To fix the roll rate, I’ve tried upping the throw on the servos for the ailerons to their max (110%, actually, which is all my radio will do). This helped a bit as well, but the real solution is to cut some ailerons into the upper wings as well. I hope that this will help with the roll rate as well as keeping a more consistent attitude in flight during rolls.
Tonight I finished adding ailerons – here is what I did, step by step:
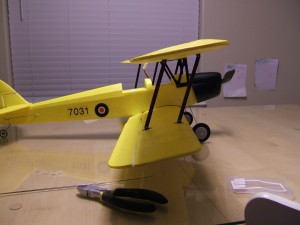
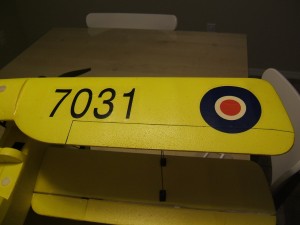
First, a few shots of the plane before the surgery:
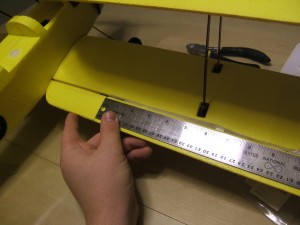
I began by measuring the size of the lower ailerons and marking a similar size with a ball-point pen on the upper wing:
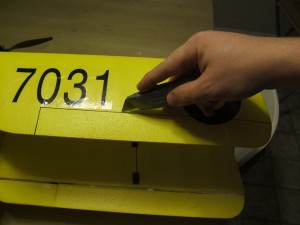
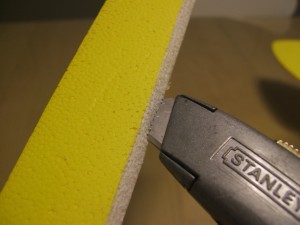
Then I cut it carefully with my razor. I did many light passes rather than try to cut through the whole thing at once. This leaves a very clean and straight cut:
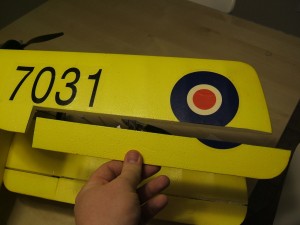
Look, a brand new aileron!
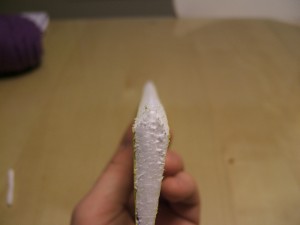
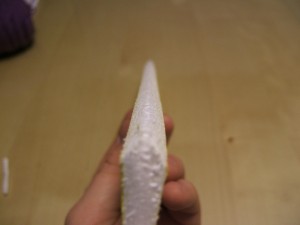
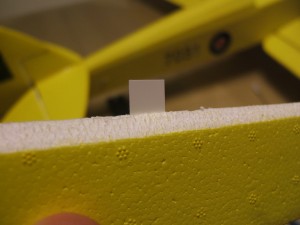
Next I used 80 grit sandpaper to shape the cut edge of the aileron so there would be clearance for it to pivot up and down:
Next I trimmed of the inner edge of the aileron to allow more clearance as it travels: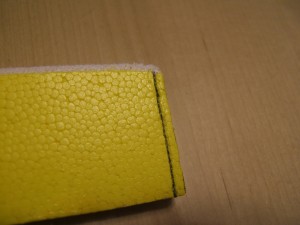
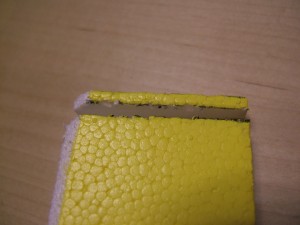
Then I cut slits into the cut edge of the aileron, and inserted my plastic hinges. I just used leftover hinges from when I built the plane:
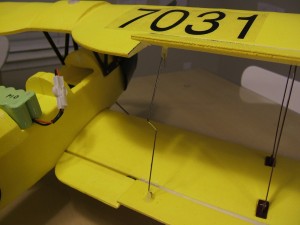
Once the hinges were glued in place with epoxy, I glued control horns (again, left over from the build of this plane – it came with lots of extra parts) to both the upper and lower ailerons, being careful to try to line them up. Then I cut slits into the upper wing and glued the hinges of the upper ailerons in place.
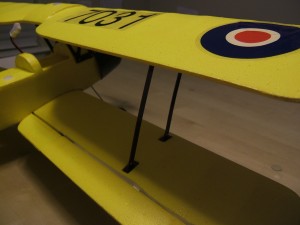
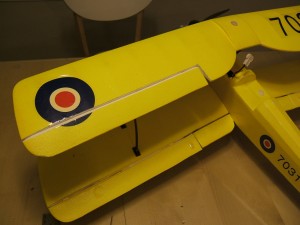 Then I added a pushrod with a bend in it so I could adjust the distance so the ailerons would be even, and I’m done!
Here’s a little video of them in action:
httpvh://www.youtube.com/watch?v=gRaXybMPEg0
Have a helpful hint? Could I have done something better? Leave a comment!
Leave a Reply