For Christmas I received a bunch of RC plane stuff – one item was a new brushless outrunner motor from Grayson Hobby. The motor is great, but after only a few flights on my new Tiger Moth, I landed hard and caught the tip of the prop on the ground, bending the prop shaft.
Now, the prop shaft was not bent enough to really notice if you took the prop shaft off, but it was bent enough to shake the plane pretty badly when trying to fly. So, I ordered some new prop shafts from Grayson Hobby, and a few new prop adapters, just in case.
This brings me to my first beef with RC Planes in general and Grayson Hobby in particular: Nobody seems to think instructions are all that important. When I opened my stuff on Christmas, I was all excited to see I had a new brushless motor and speed control, but there were no instructions of any kind included… I’m still a bit of a novice with this stuff, and I had no idea which wires go where and how to connect everything. After a bunch of searching online, I figured out how everything was supposed to be set up, but some simple instructions would have saved me a ton of time.
Fast forward to today when my new prop shafts arrived – I opened the package to discover a little plastic bag with 3 prop shafts in it, and a copy of my invoice. No instructions at all. This time, though, digging around online did not yield a ton of useful information, so I was on my own.
So, I decided that it must not be too hard, and I started taking apart the motor. I got as far as removing the retaining clip at the back of the prop shaft and pulling the bell off the motor, but then discovered that the old, bent shaft was press fit into the bell, and was not planning to come out anytime soon. So, I had to rig a solution. The following documents what I came up with using bits of things I found in my shop. First, the list of tools I needed:
- Very tiny flathead screwdriver (the smallest from my jeweler’s set)
- Small allen wrench (size will depend on the size of your motor)
- Short length of PVC sprinkler pipe – make sure it is smaller than the inner dimension of your bell.
- Belt sander
- Bench vice (though any strong clamp or press or vice will work)
- Small hex drive from my screwdriver set, but a finish nail or similar would work as well)
- Lubricant
Here is the process:
- Remove the set screws (if your motor has them) that are clamping the shaft in place. On my motor this required a very small allen wrench – the size will depend on your motor:
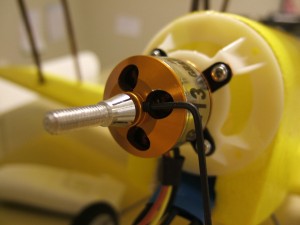
- Remove the motor from any mounts.
- Remove the retaining clip from the back of the prop shaft, as in these pictures:
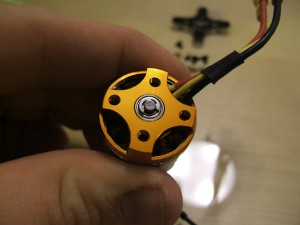
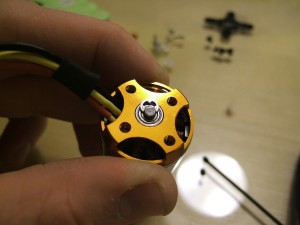
- Once the clip is removed, pull the bell off the motor. You should be left with something like this:
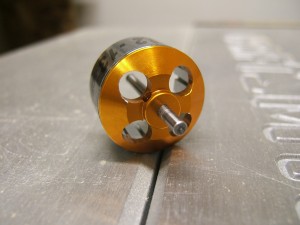
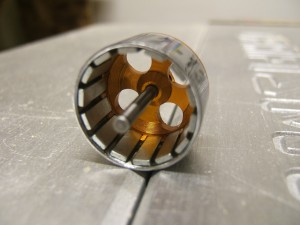
- Most likely your drive shaft will not come free of the bell with your bare hands, or even with light tapping with a hammer. So, you need to find something you can stuff into the bell to provide leverage for your vice and clearance for the shaft. I used a piece of old sprinkler pipe that was leftover from another project:
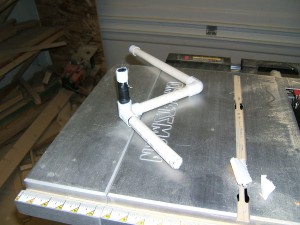
- Cut a short section of the pipe – about twice the length of the entire shaft:
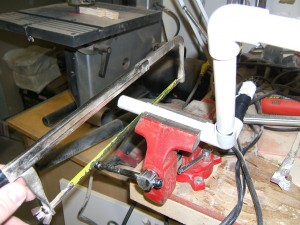
- Since I cut mine by hand, the cut edge was not very straight or flat:
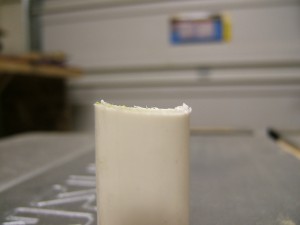
- When using the vice, you’ll want to make sure that the force on the shaft is as straight as possible, so I used my belt sander to clean up the cut a bit. I also added a bevel to one end, as the interior of my bell has a slight bevel. This will also help to ensure that the vice will be delivering force in the correct direction:
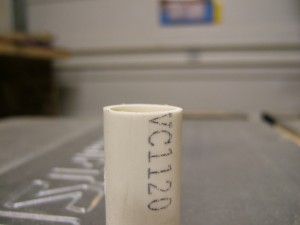
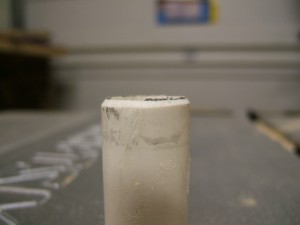
- With this piece made, just insert the PVC tube into the interior of the bell, then put the bell and tube combination in your vice. Put a small amount of lubricant (I used liquid wrench) on the shaft to help prevent scoring the bell. Press it slowly – there is no need to rush:
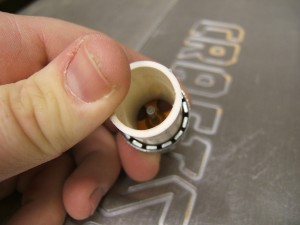
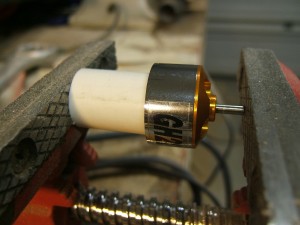
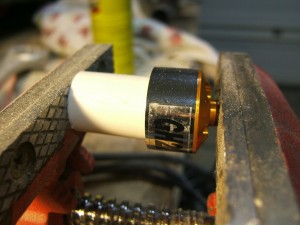
- Once you have pressed to just shy of the bell (don’t press all the way to the bell, you may damage it) you’ll need to find something smaller than the diameter of your shaft to use to push the shaft the rest of the way through the bell. I used the smallest hex driver I had from a screwdriver set. You may also try a small finishing nail or punch:
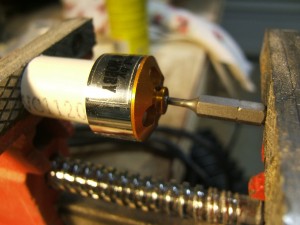
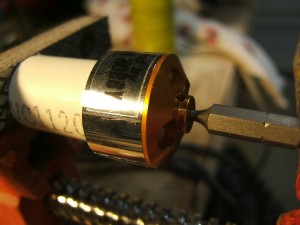
- Once you have pushed the old shaft completely clear of the bell, it should just drop down into your piece of PVC and likely stick to the magnets inside the bell. Pull it out and discard it. Get your new shaft ready and place a small amount of lubricant inside the bell shaft hole – again to prevent scoring the bell or shaft when you press the new shaft in place. To safely press the new shaft in, just reverse the bell so that the PVC pipe is now pressing on the back of the bell rather than the interior. You should be able to start the shaft with your finger pressure, then use the vice to finish the job:
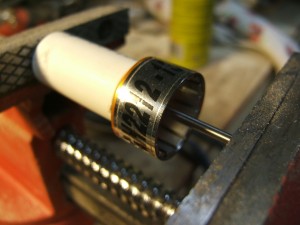
- Go slowly. Don’t press too far. Periodically take the bell off the vice and check it by test-fitting the motor and the bell. In this picture, I still had a few millimeters to go – note the shaft sticking too far out of the back of the motor:
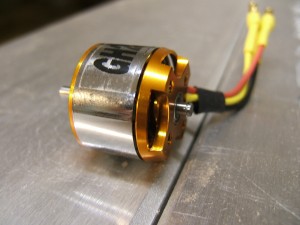
- It has been suggested that with the shaft still poking just a little out the rear of the motor, now is an excellent time to re-attach the clip that fits on the back of the shaft, then just press the shaft in until the clip barely touches the rear bearing/washer of your motor. I did not do it this way, instead seating the shaft first and then re-attaching the clip. I test fit it around 5 or 6 times, each time pressing just a little further until I had the perfect fit:
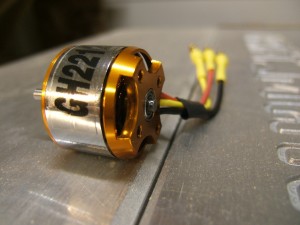
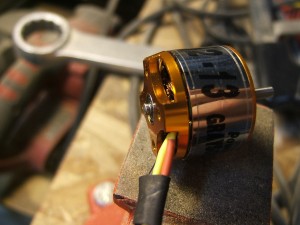
- To finish, just put the clip back on that you removed in step 1, test spin it by hand and if everything feels good, reattach the set screws you removed at the beginning, re-mount on your plane, plug it into your speed control and check to make sure everything works.
I hope this is helpful… Good Luck!
Leave a Reply to Alex Cancel reply