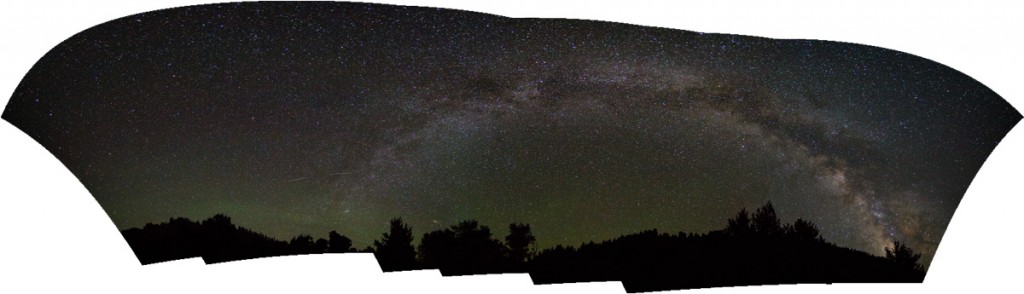
Ever since getting serious about my interest in photography a few years ago, there have been a few shots I’ve wanted to try to capture. Here is one of them:
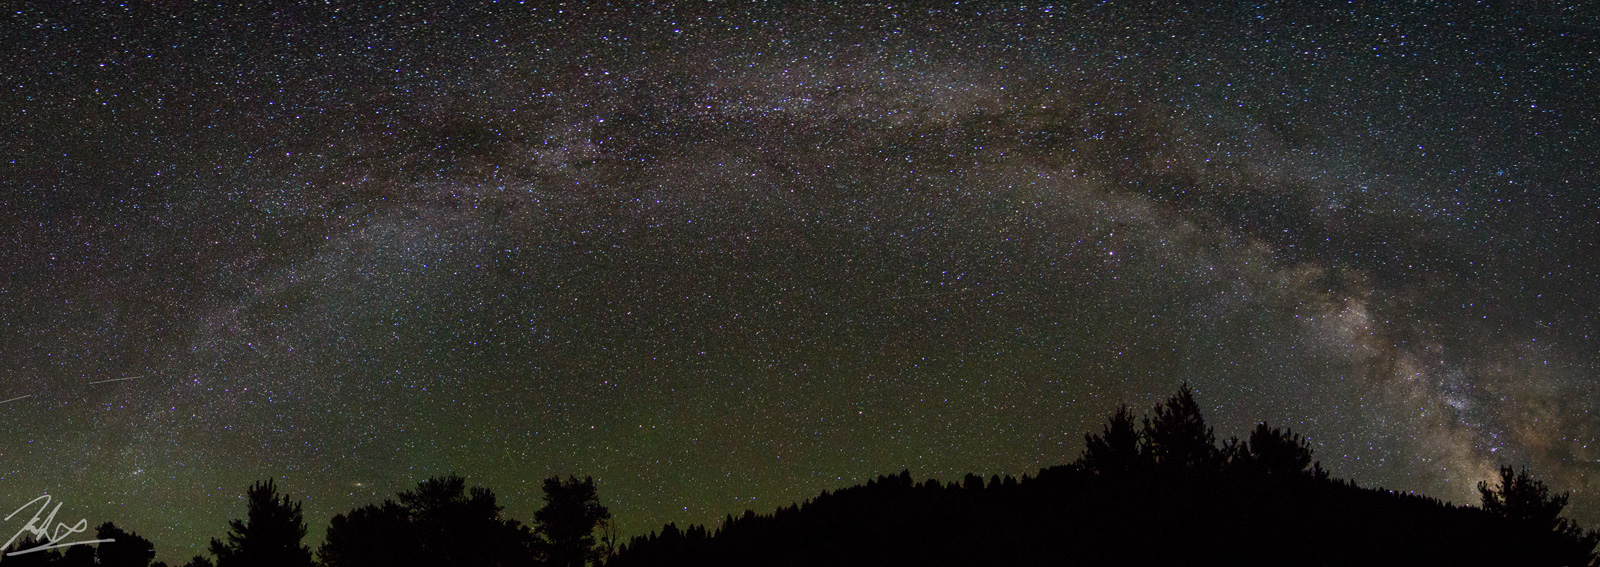
Have you ever wanted to know how you can take a picture like this? In this article I’ll explain how I captured this image, giving you the recipe so you can try for yourself.
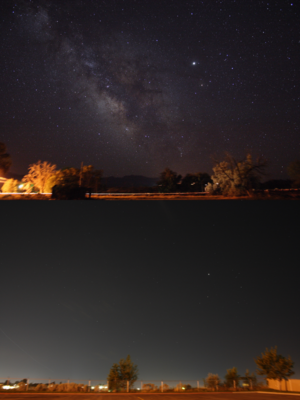
- Remove Light Pollution —

A comparison of the view of the night sky from a small rural town (top) and a metropolitan area (bottom). Light pollution dramatically reduces the visibility of stars. Source If you live in an area that is densely populated, there will be a ton of “light pollution” that fills your night sky. This is light that is always on at night – street lights, car lights, back porch lights from people’s homes, etc. All this light reflects off the earth and up into the atmosphere, where it lights up the dust and other particles that are in the air. In order to remove this light pollution, you have to get to a location away from any cities, towns, villages, etc. In short, get yourself out into the middle of nowhere. For the above shot, I was at a really secluded campsite in southern Idaho, in the USA. Also, pay attention to the moon. It is a giant floodlight that fills the atmosphere with light reflected from the sun. This light can be so bright that when full, the moon provides enough light for most humans to easily see well enough in the dark that they don’t need an artificial light such as a flashlight or a lantern. Light pollution from the moon can ruin shots like this. It’s best to try for shots like this when the moon is just a sliver or smaller, and even better when the moon is not visible in the sky at all.
- Bring a Sturdy Tripod — The amount of light that makes it all the way to earth from distant heavenly objects is teeny-tiny. In order to capture them, you’ll need to have your shutter open for several seconds, so your camera must be absolutely still when shooting. The best way to do this such that you can position the camera exactly the way you want but still be able to move it around is to use a high quality tripod with a sturdy ball head.
- Use a Wide, Fast Lens — Most consumer-grade lenses are not really able to capture shots like this because the aperture simply does not open wide enough to gather enough light. Lenses with a maximum aperture of 4.5-5.6 are simply too “slow” at gathering light. You’ll need a fast lens that will open to at least F2.8, and even larger (1.8, 1.5, etc) is better. In addition to needing a fast lens, you’ll want one with a pretty wide angle. 15mm would work, 11mm is better.
- Good High ISO Noise Performance — These kinds of shots require shooting at a pretty high ISO. If your camera produces a lot of noise when you get above ISO 1200 or so, think about borrowing or renting a different body with better noise performance.
- The Settings Recipe — Ok, so you are at a good location, have a fast, wide lens, and a camera that performs well with high ISO. Now you need to know the settings to use. Here is what I recommend:
- Open your aperture all the way – F2.8 or wider
- Start with a shutter speed of 15 seconds.
- Set your ISO to 3200
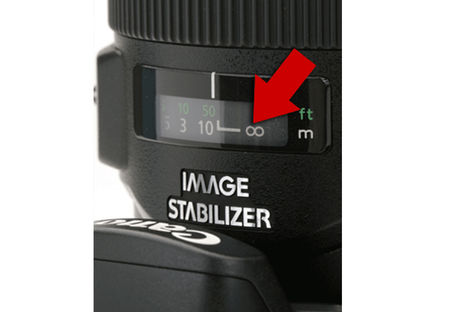
- Focus! —
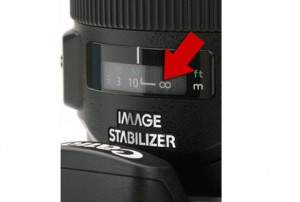
Focus To Infinity
SourceOne of the most difficult things to get right when doing shots like this is the focus. With very little ambient light, your camera’s auto focus feature simply will not work. There are a few things you can try to do to get the auto focus to work (shine a very powerful flashlight on a distant tree or building, or use a laser pointer in the same way, etc) but I’ve never had good luck with these techniques. Instead, use a lens that has a focus indicator window on it so you can see about where the focus has been set, and switch into manual focus. Adjust it to be focused to infinity, and take a test shot. If it seems a little soft, manually adjust the focus a tiny bit at a time one direction or the other, and take another test shot. If this is worse than the first shot, then move it back the other direction. If it is better, keep going until it gets worse, then go back just a bit. This is a crude technique, but has produced the best results for me.
- Ready, Aim, Fire! — Now you are all set up to shoot. Using the suggested settings above as a starting point, take a test shot and decide how the exposure looks. If it is too dark, try a longer shutter speed first and then higher ISO if you get all the way to 30 seconds and it is still too dark. If it is too bright, bring the ISO down first, then go to a slower shutter speed if needed. Any shutter speed above about 15 seconds will reveal some movement in the stars, and by 30 seconds it can be pretty noticeable, so keep your shutter speed lower than 30 seconds, ideally lower than 15.
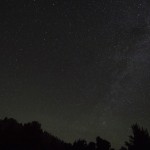
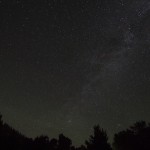
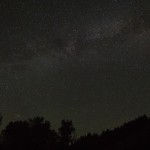
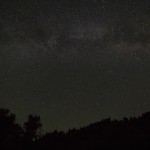
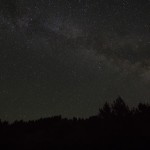
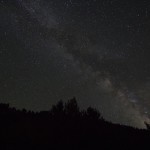
- Shoot The Whole Thing — I’ve had people ask me how I achieved the “rainbow shape” of the milky way in this shot, since when you look up into the sky at night the milky way appears to be pretty straight. The secret is to take a series of 6-8 shots, panning 20-30 degrees between each one. Here is what each of my individual shots looked like straight off the camera:
- Time For Some Post Processing — Once you have a series of shots you like, it’s time to get them off your camera and into a post processing tool such as Aperture, Lightroom, Photoshop, or whatever editor you prefer. I used Lightroom to do some slight sharpening, make the blacks blacker, the whites whiter, and bring out more of the colors. Apply exactly the same adjustments to each shot, so that when they are stitched together the exposure is even across each image.
- Stitching Time! — Once you have the images adjusted the way you like them, pull them into a tool that can stitch them into a panorama. I used Photoshop, but there are plenty of other options out there for both windows and mac. Here are the results of the photoshop stitching before I cropped:
- Crop and Publish! — From this point on it should be obvious that all that is really needed is to crop your shot down to only show the part you want, and then do anything else you would like to do before publishing the image.

I’d love to hear about your attempts to follow this recipe, and can’t wait to see your results!
Leave a Reply to Jesse Judd Cancel reply